The holidays are coming and I always have a hard time finding the right gift for each person on my list. Especially when I want to get something truly useful and not just something that will be thrown away in a month. I put together this budget friendly gift guide that most adventure/outdoorsy people would love to receive as a gift or stocking stuffer!
*This guide does include affiliate links which means that if you purchase from a link I get a small commission for sending you there. Thanks
Embarking on outdoor adventures can be exhilarating, offering an escape from the hustle and bustle of daily life and immersing us in the breathtaking beauty of nature. Whether you’re a seasoned explorer or a first-time adventurer, the key to a successful and safe journey lies in being prepared. Imagine finding yourself deep in the wilderness, surrounded by awe-inspiring landscapes, and the only sounds you hear are those of nature itself. In such moments, the last thing you want is to worry about your safety or lack the essential tools to overcome unexpected challenges.
This is where “The Ten Essentials” come into play. Conceptualized by The Mountaineers, these ten indispensable items and practices form the backbone of every adventurer’s toolkit. From the rugged terrains of mountains to the serene trails of forests, the ten essentials serve as a compass guiding you through the wild and untamed beauty of the outdoors.
In this comprehensive guide, we’ll delve into each of the ten essentials, unveiling their significance and the role they play in ensuring your safety, comfort, and peace of mind during your outdoor escapades. Whether you’re planning a short day hike, an overnight camping trip, or an ambitious multi-day trek, understanding and embracing these essentials will pave the way for a remarkable journey you’ll cherish forever.
So, let’s lace up our boots, secure our backpacks, and journey through the essential gear and knowledge that will empower you to embrace the wonders of nature confidently. The great outdoors await – are you ready to embark on an unforgettable adventure? Let’s get started on this exciting expedition through “The Ten Essentials: Your Guide to Safe Outdoor Adventures.”
This post contains affiliate links, which means that if you purchase an item from the link I receive a small commission which helps me continue to help others get in the outdoors safely.
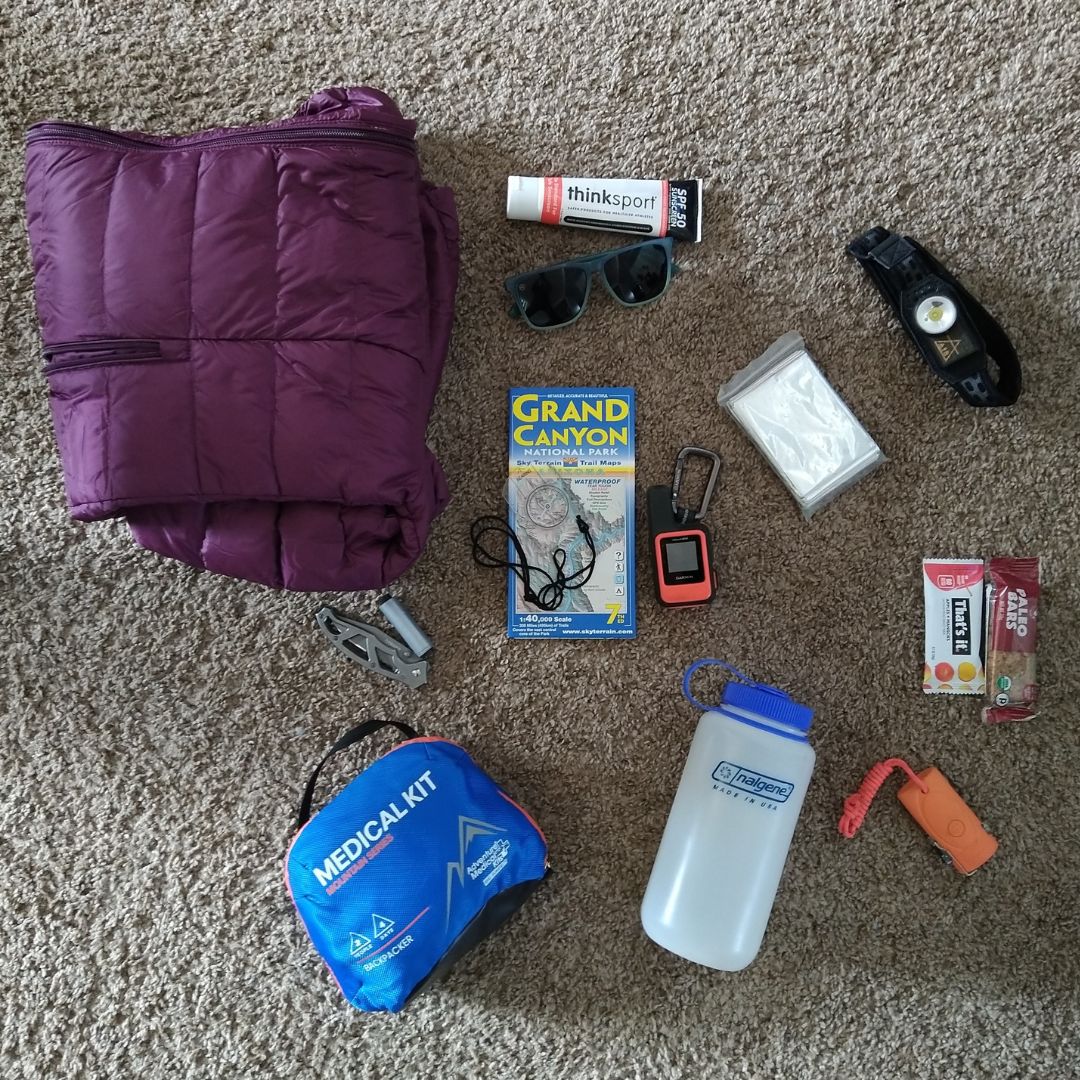
The Ten Essentials:
1. Navigation: This would be some kind of map, compass, GPS, or Personal Locator. Personally I have a Garmin inReach and my phone with the Onx Backcountry app. A Map or way to navigate is essential for safety in the outdoors. It is very easy to get lost when all you see are trees and rocks.
2. Illumination: This would be headlamp, flashlight, lantern. Personally I usually carry a headlamp and flashlight. Make sure they have fresh batteries or full charge. Even if you are not planning to be out after the sun goes down, you never know what will happen. You could get lost or have an emergency that delays your hike, or you could find a cool cave that you want to go explore. I am a huge fan of USB charging headlamps and flashlights as they are lighter.
3. Sun protection: This includes sunglasses, hat, sunscreen, protective clothing. Personally I do a hat (or visor), Sunglasses, sunscreen, and protective clothing. The sun is brutal and Skin Cancer is a huge deal!
4. First Aid: It is important to have a well stocked first aid kit. When you are out hiking it’s important to have more than just Band-Aids and Tylenol. Most outdoor retailers carry some great hiking first aid kits that are small! Based on the activity you are doing, it’s important to add activity specific items to your first aid kit. I also suggest taking a basic first aid class to know what to do in an emergency.
5. Repair kit/tools: You never know when a repair kit will be needed. I usually carry a knife.=, mini multitool, and duct take. I have used my knife and multitool so many times on day hikes. Recently I was on a hike and my trekking poles kept loosening. The multitool was needed to tighten the screws.
6. Fire: Matches, lighter, tinder. Hopefully you will never need fire on a short hike, but if you are stuck over night it might just save your life. Make sure they are in a baggie or something to keep them waterproof and that you know how to use whatever you bring on trail.
7. Shelter: Tent, tarp, anything to shield you from the elements. On day hikes I bring an emergency bivy. Once again make sure you know how to use it, but hopefully you never need to use it!
8. Nutrition: Anytime you workout, nutrition is important. It’s important to bring food beyond what you plan to eat on the hike, incase you take longer than expected or to share with a friend. I usually just throw a few granola bars in my pack.
9. Hydration: This is such an important one. I have been on too many hikes where I see people in the heat with only a plastic water bottle. You should always carry more water than needed. Water filters are another great addition to your pack. There are small ones like the sawyer mini that make it easy to carry at all times. I also suggest bringing electrolytes for every hike and outdoor adventure. Nuun is my favorite!
10. Insulation: Make sure to check the weather and being extra clothes for the low temperatures of the day. I always make sure to have an emergency Mylar blanket with me as well.
Every person is different and adds to the 10 essentials. This is just a starting place. Personally I add my bathroom kit (I will do a post on that one soon), pen and journal, a tick kit, and my adventure buddy. It is important to know the area you are adventuring in and bring extra essentials based on the location. If you are in bear country add bear spray. If you are in icy conditions add crampons. There are so many things that are dependent on your location and season.
If you have questions let me know! I would love to help you put your 10 essentials kit together!
Did you know hiking trails and our brains are similar?
Most Hiking Trails are created by continually walking the same place over and over. The more foot traffic the trail gets the more worn in and visible the trail is. This is how our brain creates perception. The first time you experience something your brain forms a neural pathway with that perception. Then every time you experience it the pathway gets deeper and more formed. If you experience something similar your brain can easily use that pathway to create the perception, but if you want to change the perception you have to create a new pathway.
EXAMPLE: Every time you put on workout clothes you look in the mirror and think “I’m Fat” now working out, the idea of wearing those clothes, or the idea of any kind of exercise makes you think “I’m Fat” because this is the pathway you have created. In order to change this perception, you have to work at it and create a new neural pathway and keep going there to dig it deeper and let the old one get overgrown.
This is something you have to be purposeful about and practice. Put on those workout clothes and instead of allowing yourself to think “I’m Fat” think “I’m strong, I’m brave, I’m beautiful”.
You choose the statement. Make it positive and affirming. Make it simple. You can even write it on your mirror or on a sticky note you see all the time. Every time you think about exercising, purposefully think “I’m strong” this way that neural pathway can be more solidified.
Practice it over and over and over again until that pathway is so deep it’s the only one your brain wants to travel.
If our perception is that we indeed can do anything, then we will be able to do it!
What things have you been telling yourself that you need a new pathway for?
The opportunity to be brave is all around us. The definition of brave is: having or showing mental or moral strength to face danger, fear, or difficulty: having or showing courage; to endure or face (unpleasant conditions or behavior) without showing fear.
Fear is a part of life, but what we do with that fear is what really matters. We can choose to allow that fear to overcome us and control our lives or we can choose to be brave. Being brave doesn’t mean there is no fear, being brave means that you show strength and do hard things when fear is present. Without fear or unpleasant conditions bravery is not needed.
Fear is something that can cause us to miss out on goals or not set goals at all. We can’t let the fear of failure keep us from trying. Sometimes we don’t even recognize the fear that is stopping us from moving forward. Is it the fear or failure? The fear of not being good enough? The fear of other’s comments or thoughts? Maybe it’s the fear of actually succeeding and not knowing how to handle that or move on.
Acknowledging that fear is the first step to being brave. Write it down, say it out loud, or tell it to someone else. “I am afraid______”
Bravery comes in many forms. You can be brave wearing that outfit or swimsuit you didn’t totally feel confident in. You can be brave making that phone call you have been putting off. You can be brave stepping out the door for your first run. You can be brave going out hiking. You can be brave just facing the day in front of you. The point is that it is your choice to be brave that helps you conquer your fears and do hard things. Bravery is not dependent on the outcome it is dependent on your choice to do it over and over again even when you are afraid. What will you do in that fear? Will you choose to live there or will you choose to be brave.
Now comes the brave part. “I am afraid_______ (List your fear), but I will be brave by_________ (how will you be brave to face that fear)”
In order to be brave we have to first realize that there is a fear that we need to conquer. Some fears are easy to recognize others are not so simple. Sometimes we deny that we are afraid in order to hide weakness. Sometimes we have been pushing those fears down for so long that show up as anxiety or stress. (A little disclaimer: Fear is not always a bad thing. Sometimes fear does stop us from doing dumb things or being dangerous. For example the fear you may feel walking down a dark alley in the bad part of town by yourself is a good fear. This fear should tell you to stop and do something different that we aren’t talking about here. We are talking about the fears that keep you from doing the things that will help you live your best life. )
Here are some simple steps you can take to start recognizing fears and then take the steps to be BRAVE.
Awareness First is Awareness: we need to start noticing when there is resistance in our heart, mind, or body. This resistance usually means that something is happening that we may not be acknowledging. So the first step is awareness of the feelings and thoughts that are happening inside of you.
Identify Once you are aware of this resistance you can start to identify it. Why do I feel this way? What am I feeling? Is it fear of failing? Fear of what others will say? Fear of falling? Identify that feeling and what that fear is.
Acknowledge After we identify it the next step is to acknowledge it. Acknowledge what you are afraid of. I usually encourage people to write it down, or say it out loud. I am afraid of _______. Sometimes it helps to tell someone you trust.
Ask Questions The next step is to ask questions. Ask yourself questions about this fear. Is this a rational fear? Why am I afraid of this? Is there something that happen to make you fearful? What’s the worst that could happen? At the bottom of this post is a list of questions you can ask yourself when you are identifying and acknowledging your fear. These Questions will help you understand the fear and start to overcome it.
Release Control the next step is acknowledging the things you have control of and the things you do not have control of and releasing the control. Most times our fear comes from things we have no control over. Recognizing the things we do not have control over and letting those things go will help us step out and be Brave. You have no control over another person’s words or thoughts. You cannot control how the world will respond to your ideas. You cannot control the weather on race day. Let go of the things you cannot control and focus on the things you can. You can choose to think positively. You can be thankful for the things you have. You can love yourself. You can put on your shoes and walk out that door.
Take a Step The next part of being brave and overcoming fear is to take a step. Start somewhere, even if it is somewhere small. Just take one step and see how it feels. Be aware of taking that step and aware of what things are happening inside of you. Are you afraid? What is that fear making you feel? Go back through the questions and see where you are. If you can take another step and another and another.
Focus on the positives. Once you are able to take BRAVE steps you can start to move forward and conquer your fear. Sometimes during this process we fall a little or step back into fear. It is important to acknowledge that and to focus on the positives. Instead of feeling like you failed, look at how far you have come! Change your narrative and keep the positives. You may not accomplish all of your goals in one day, but you can take steps in at least one of them. That is reason enough to celebrate.
I’ve decided to start making a word of the month and focusing on that word. Learning more about the word and how I can change using that word.
For August I have chosen the word Brave. The definition of brave is: having or showing mental or moral strength to face danger, fear, or difficulty: having or showing courage; to endure or face (unpleasant conditions or behavior) without showing fear.
This word is really motivating! I want to always be brave even when no one around me is willing to be brave. So this month come with me on a journey to discover how we can be brave.
One thing I really like about the word Brave is how in order to be brave you have to acknowledge your fears and unpleasant things. This is something many of us avoid. This month let’s face those fears and learn how to be BRAVE!
If you need help being brave or need help recognizing those fears let me know! Let’s work together to be brave!!
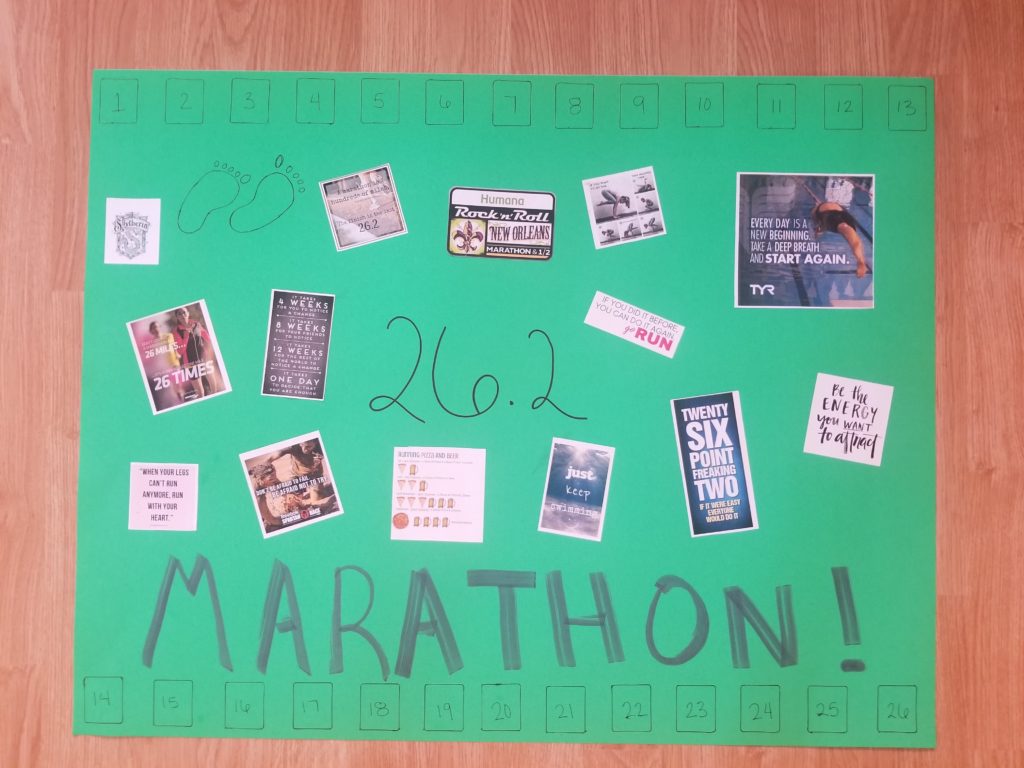
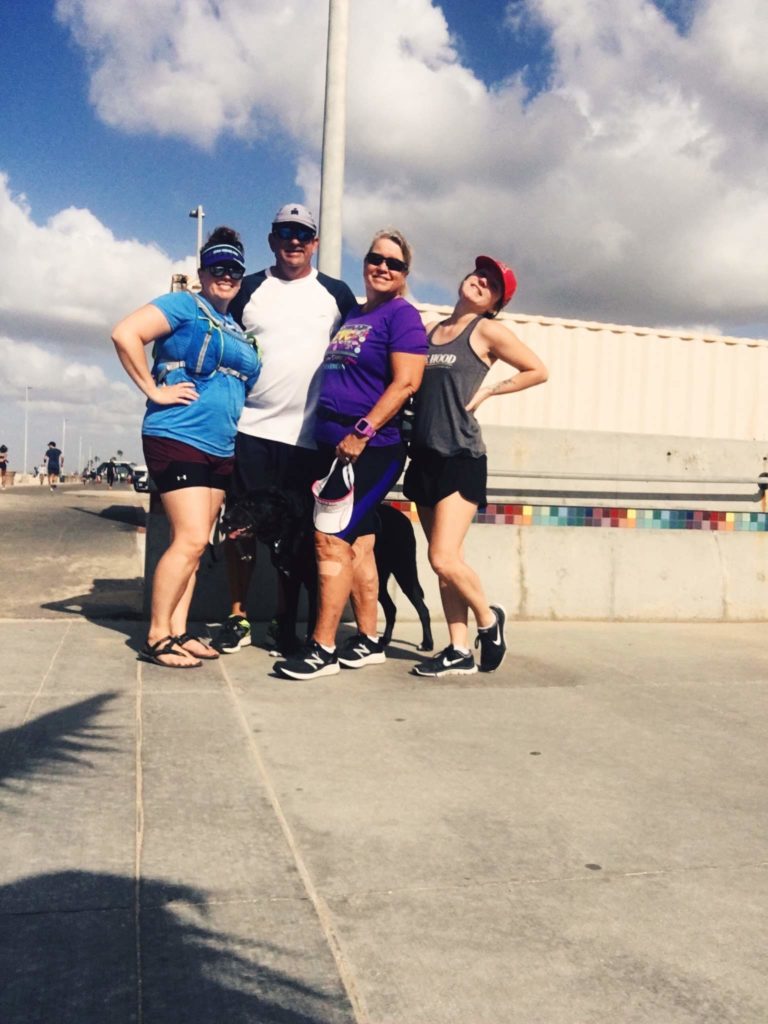
It’s been a while but I thought I should write up a little training recap from my second Marathon! This Marathon was run with Julie!
When Julie said she wanted to run a marathon, I felt that pull to help her and kind of felt like it was time to do it again. I needed something to help get me moving more so I thought Why Not? Ok Maybe I am crazy! My life motto is “No Regrets” so I went for it!
She decided on Rock N Roll New Orleans so we signed up and started thinking about training! Since I usually make my own training plans I made Julie and I training plans. She specifically wanted to be able to use Cycling as cross training and I was starting to swim, so I wanted to make sure cross training was included in our training plan.
I also made each of us vision boards for the race. I love a vision board or sticker chart so this was a must for this training process. (If you want to learn more about vision boards I’m doing a free class on it soon).
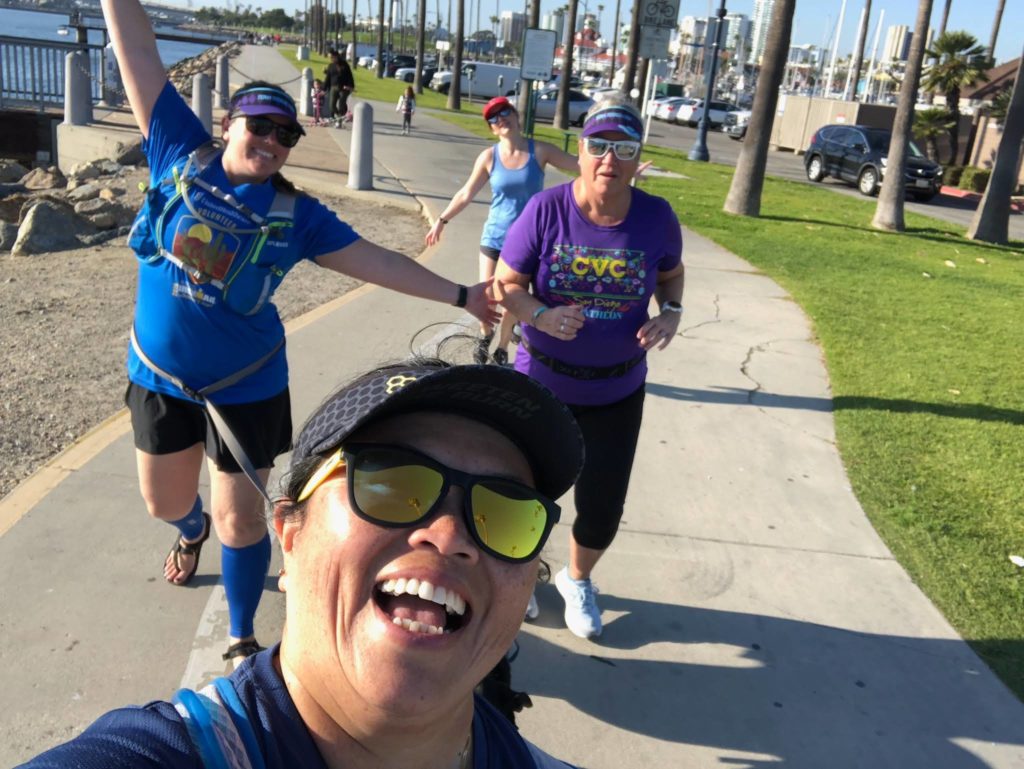
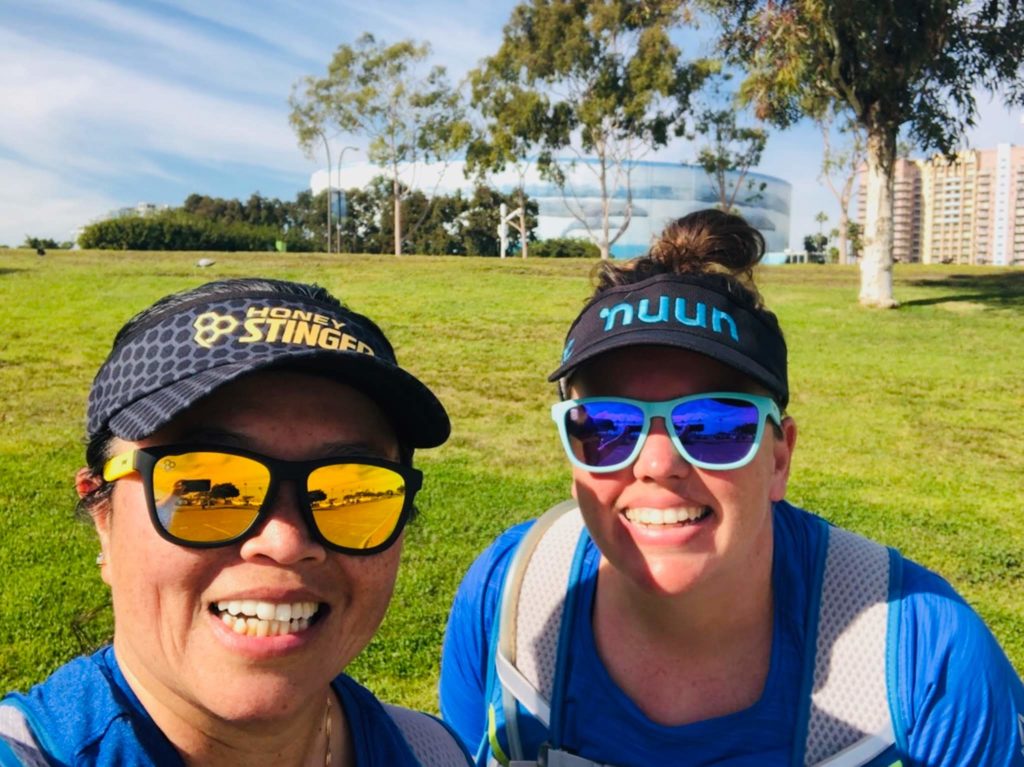
Then training started. As we started uping the mileage I started working with Julie on hydration and nutrition. It was exciting to see her conquer her goals with each distance. We did almost all of our long runs on the beach path and Huntington Beach. This made for easy turn around spots!
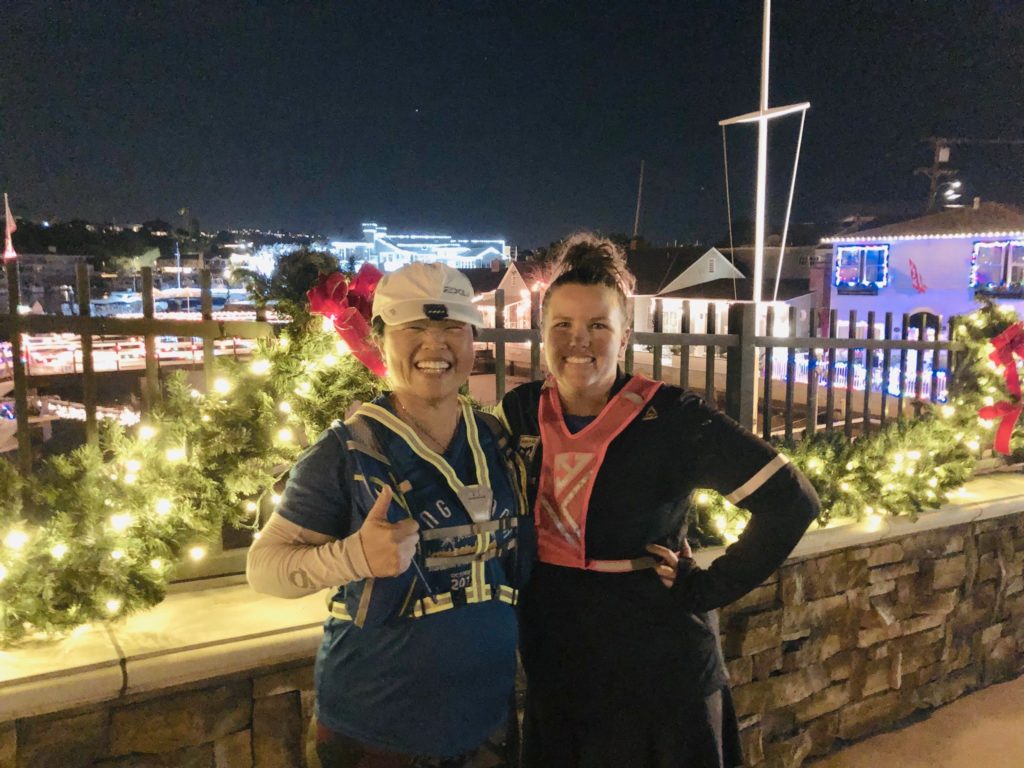
Julie and I ran around Balboa Island and all the streets one night to see the Christmas Lights!
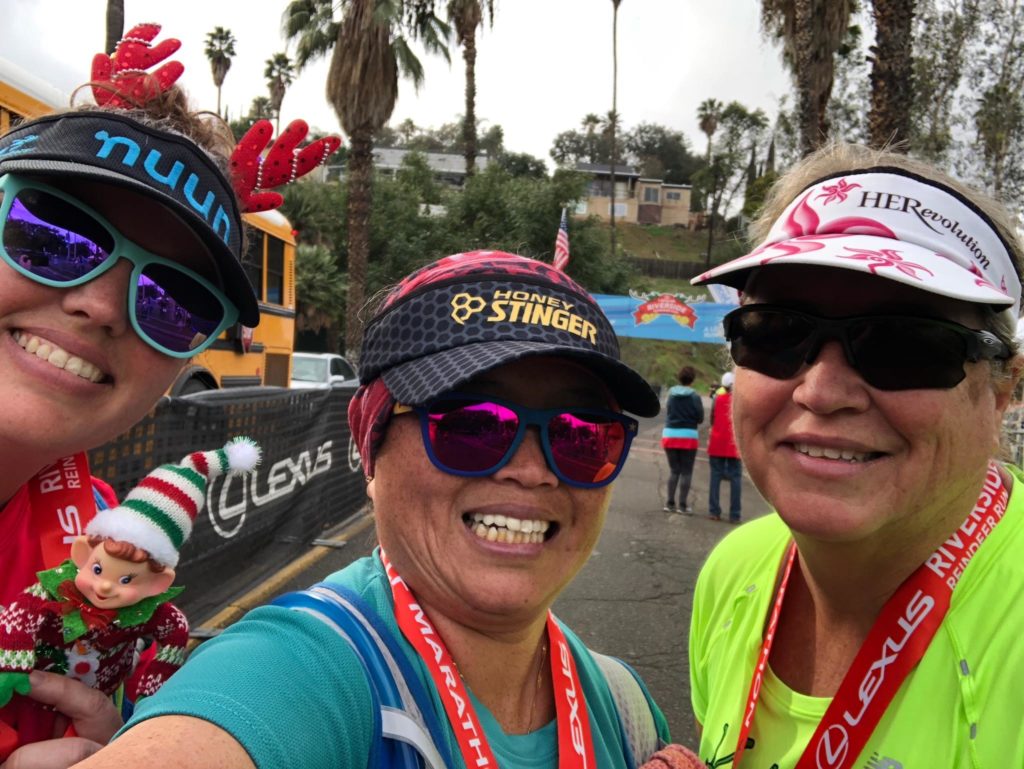
We even ran a Christmas Half Marathon as part of training.
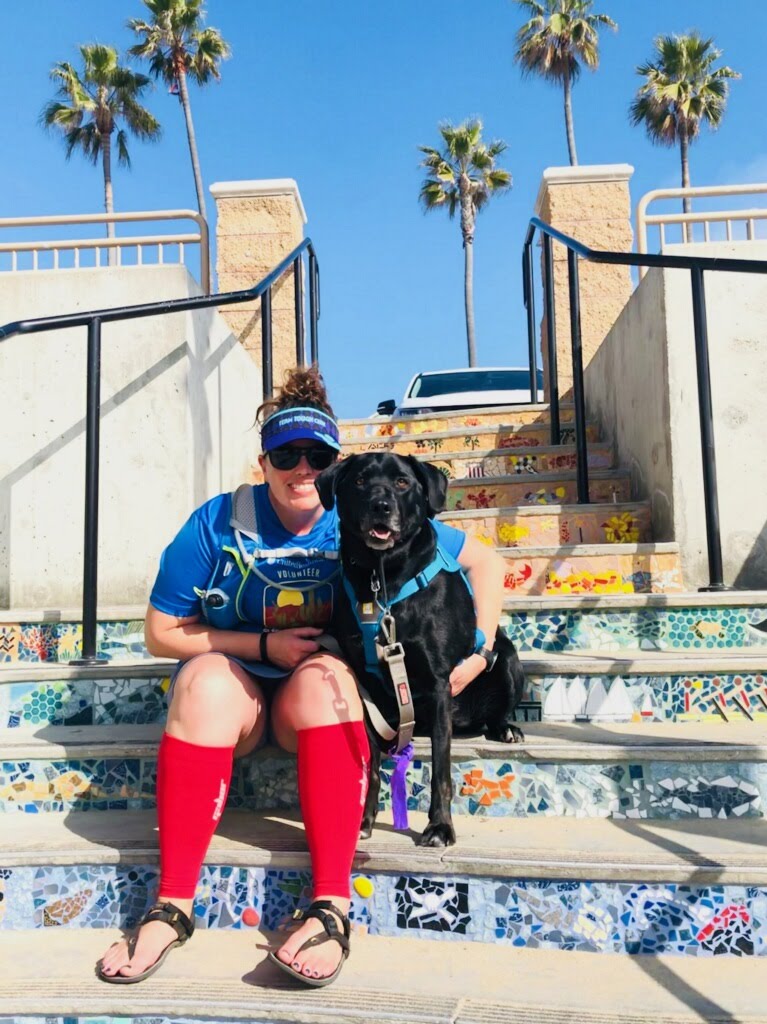
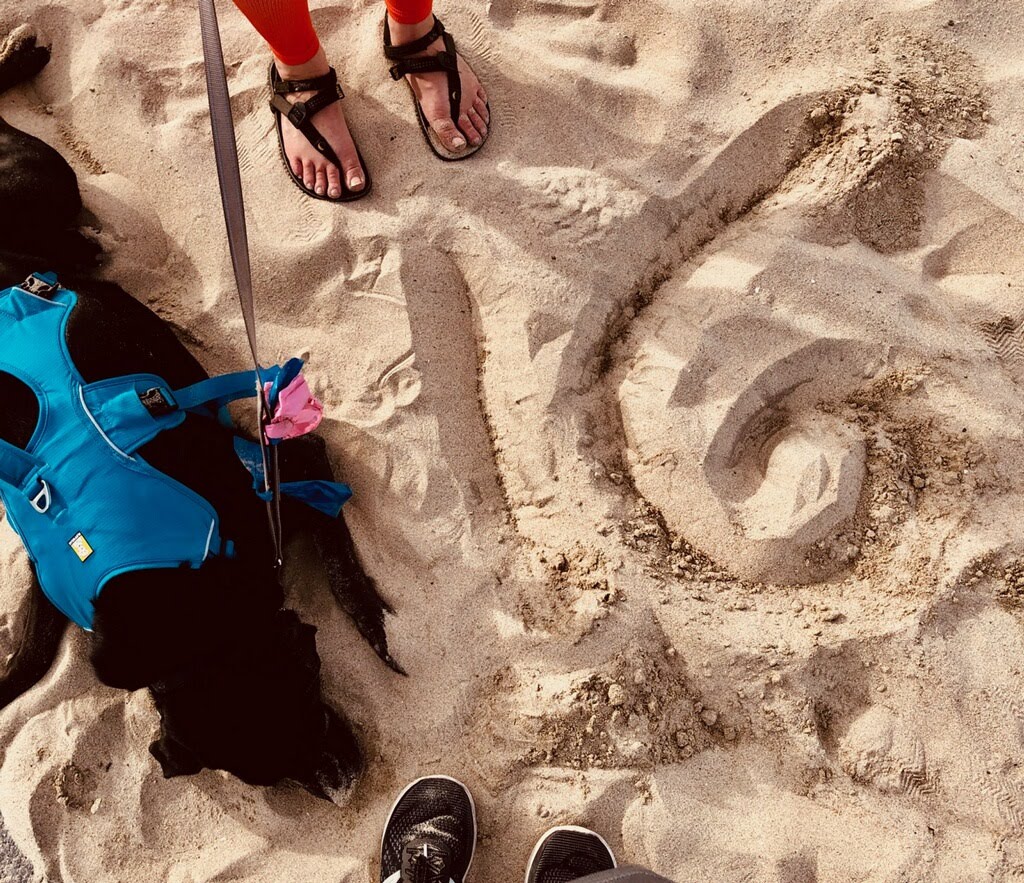
This time River got to do all of our runs up to just over 16 miles with us. She did great and learned how to better run on the beach path with us! She loved getting to participate this time around!
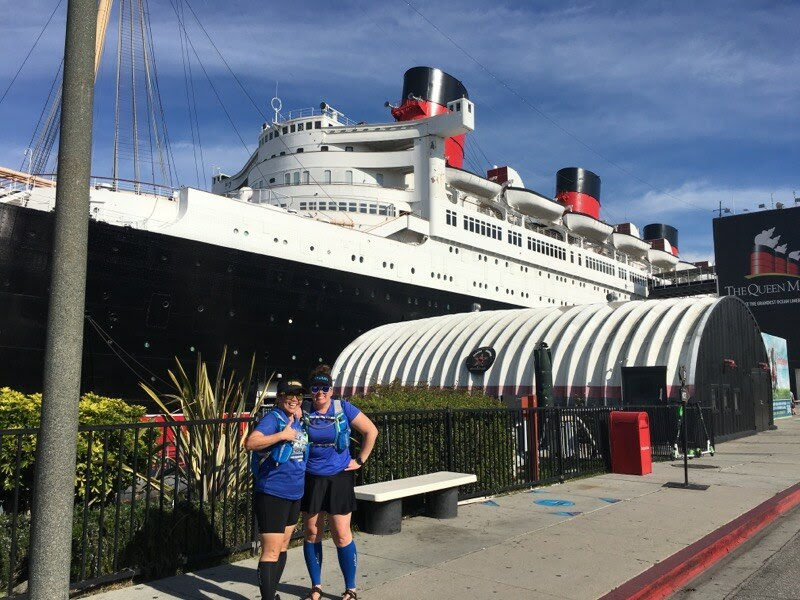
For our longest run before the race we decided to run from Huntington Beach to the Queen Mary! My mom, sister, and our friend started with us and ran 5 miles before they turned around for their total of 10 miles. We kept going, and going, and going. Finally we could see the Queen Mary and knew we were going to make it! Let me tell you that was a long way!!
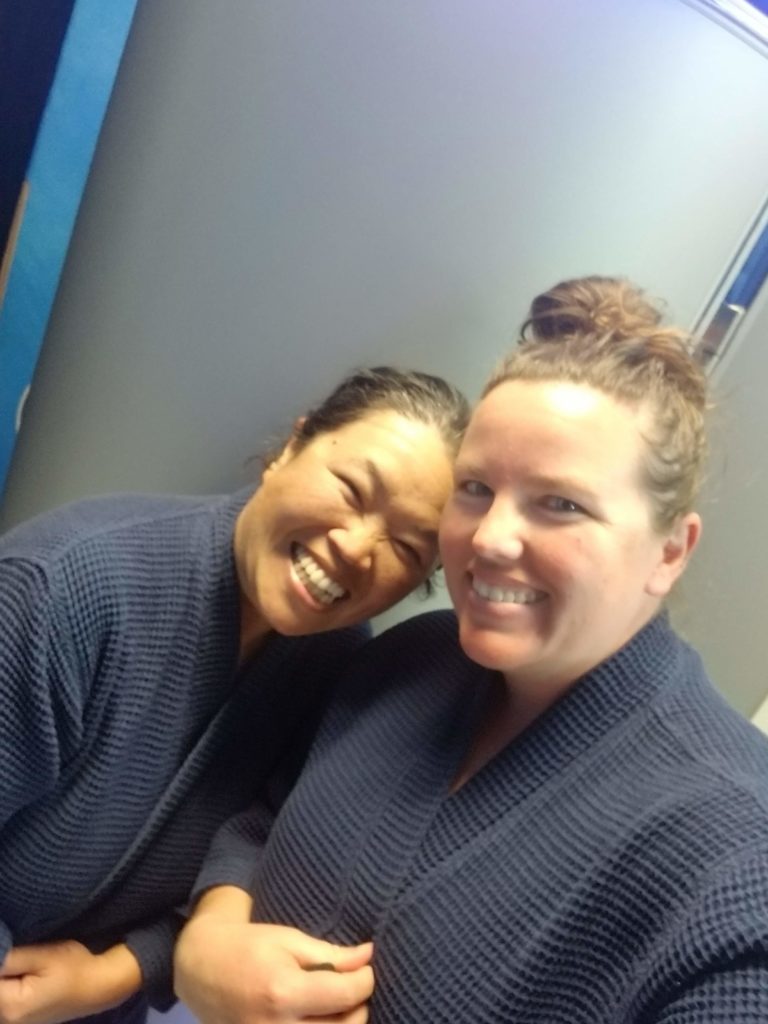
Finally we got to the Queen and went straight to Cryotherapy. If you have never done Cryo before you need to try it. This was the best recovery we could have asked for! After we decided to find in New Orleans to do it after the race.
Finally we made it to taper. Taper was great and our biggest concern was getting sick before Race Day!
For so many parents sex can be a scary or intimidating subject to talk to their kids. What you’re not alone? That’s right! It doesn’t have to be as intimidating or scary as you make it. Just because you start talking about it doesn’t mean your child is going to go have it either. While most schools have some form of sex education, is this really where you want your child learning about it? What exactly are they teaching? Where do they turn if they have questions? And are they really listening or just giggling the whole time because someone said the word sex or penis?
(This post contains affiliate links to make easier for you to find these books and purchase them)
Think back to when you first learned about sex? Was it at school? A parent? Your friends? A movie? Maybe your first sexual experience was the first time you learned?
Was this learning experience healthy? Did you learn the truth? Were you left with a lot of questions?
If you look around today the world is full of sex. We see it in movies, television shows, advertisements, music, and pretty much everywhere we look. The average age for first sexual experience is getting younger and younger. Kids are having sex before they even learn what it is.
Most kids and teens are learning about sex in unhealthy ways. They learn many myths and ideas about it before they ever learn that it can be a good, healthy thing. When I polled my student’s about their first time learning about sex most said from friends or boyfriend. They asked me so many questions that honestly shocked me. How could these teens, who have had sex, really believe all these things about it?
Many parents are afraid or nervous to talk to their children about sex. Some parents believe that if they talk to their child about sex it will be opening the door for them to have sex or saying it is okay to have sex. None of this is true. Sex should not be a hushed topic that we do not speak about it. It should be approached as a normal healthy part of life. Kids should be learning from their parents healthy perspectives on it.
It is really important to teach your children about sex. It doesn’t need to be a weird, awkward conversation. It can be a normal, everyday conversation with your child. The earlier you start the conversations the easier it will be for your child to approach you with questions and when they start feeling things.
Think about it. Would you rather your child come to you when they hear something different? OR ask their friend?
Here are some resources to help you talk to your child about sex. Every book you will need to censor with your own beliefs and values. I do not suggest handing the book to your child and telling them to read it or hope they do. It is best to use the books as a starting point with them and have conversations with them.
This book is great for helping to answer questions that come up. Let’s face it we don’t know all the answers and some people are afraid to start the talk because they won’t have the answers. This book can help give you a cheat sheet for some answers. I wouldn’t use it as the basis for teaching your child about sex, but keep it on hand for those questions that you have no idea how to answer.
This book is a great beginner, overall book. It will help you have some ideas of where to start and what to talk about. It is important not to just hand it to your child but use it as a tool in discussing these things with your children. As with every resource make sure to read it first and censor it with your own personal beliefs.
Shelley Metten has this series of books for girls and boy of different developmental stages. It’s a great way to help your child learn at the level they are at. This is especially important so that you don’t bombard them with too much information too soon. She is well researched and understands different developmental stages and what is important for each stage.
Hooked by Freda McKissic Bush, and Joe S. McIlhaney Jr.
This book is one of the best for helping us understand what they brains reaction to sex is. It is completely based off of scientific research and brain scans. I had to read it for my Master’s classes and it really helped my understand more about what my students reactions are. It is not one you would read to your kids but it is helpful in understanding the why and preventing things before they happen.
This is a great book especially for Christian Teens. It is a look at home the world views sex and what is actually healthy. It is eye opening and challenges teens to live a different life than everyone around them or the media says.
It is important to remember that no matter how or when you teach your children about sex, they will remember it. They will remember you being weird and not knowing what to say, or you being confident (even if it was fake). Statistically the way we first learn about something is the filter we will use about the topic every time we hear about it. I hope you can be the filter for your children!
Do you have any more resources that you love about sex? Have you had “the talk” with your children? Got any more questions or other topics I should write about? I would love to hear from you.
Being the captain of a Ragnar Team can be a fun and/or stressful endeavor. Captaining a trail Ragnar is much easier than a road race.
Requirements for both road and trail:
Organizing the team. Obviously you have to recruit a team for the race. For road races this means 11 people, for a trail it is 7 people. (Not including yourself). Once you have the team members you must register the team. This is done through the Ragnar website and requires payment. Some Captains require runners to pay upfront so they can cover the fees while other captains allow the runners to pay them back after they have purchased the team. Once you have paid for the team you can add runners through the Ragnar website to your team through email. While registering the team you have to have a team name. I’m not going to go into how to make a name (there are other sites for that), my recommendation is to think about something fun for decorations and team shirts, that also encompasses your teams spirit!
The easiest way we have found to keep a team organized is through making a Facebook group. Obviously this depends on if people are on Facebook and use it easily. This allows the team communicate with each other and make sure everyone is on the same page.
Team shirts, decorations, or other fun things are another great thing for captains to organize. Most teams for Ragnar Relays have team shirts or things that set them apart from others. One year we did silicon bracelets to pass out to other teams. Some teams for road races do magnets for the vans and trails do decorations for their camp sites. I use Customink for shirt creation.
Another thing needed for all Ragnar Races are volunteers! For Road races teams must provide or pay for 3 volunteers. For Trails teams need 1 volunteer. The captain needs to make sure volunteers are assigned or paid for.
Trail Captains:
Trail relays mean a lot more organization of who brings what. Unless you are paying for glamping, you need to bring all your own camping supplies for a trail race. This includes tent, sleeping bags, ice chest, chairs, etc. (I will do a future post on preparing and packing for a Ragnar Trail). Since space is limited it is easier if only certain people bring certain things. This needs to be organized ahead of time.
Road Captains:
Road relays means a lot more organization and reservation ahead of time. A Captain needs to decide if the team will be staying at hotels, and what cars will be used. Most teams rent vans for the race. A captain will need to do this well ahead of time and make sure the van is reserved and paid for.
The captain will also need to organize who is paying for gas and such and how tea members will be paying for these things in the end.
All captains should make sure the team is organized and training before the race. If the team is all local it could be fun to get together for a few group training runs, or team meetings. It is always fun to meet in person.
As a captain I put together spread sheets of everyone’s information. Ragnar provides some spread sheets or you can make your own. Make sure to include runner order, money (who paid, who owes etc), contact information, who is bringing what, and dates and times of important information.
Safety during any race is very important. Before starting your Ragnar Relay you have to watch their safety video. It is super cheesy but good information. Ragnar requires runners to wear a reflective vest, front facing light, and rear blinking light during all night time hours usually 630pm-630amish. It is important to look at your night legs and see if it will be in a rural area. In these area it is important to have bright headlamp so you can see where you are running.
It is important to be seen as many times you will be running on the side of the road or in sketchy areas. Brighter colors, extra lights, and reflective gear are always helpful at night. Make sure to keep your eyes open for anything that could be dangerous. If you feel weird running through a park in the dark, bring some pepper spray or have someone run with you. Better to be safe than have a problem!
During the day make sure you are always looking where you are going and look out for cars. Do not cross the road when the light is red, it’s not worth it. I have seen so many people almost get hit when running across the street during Ragnars.


 Art Kit
 Knot learning set
 Game
Game Great travel game
 Electrolytes
 Olive Oil Packets